How to start a self Hosted Blog

Howdy People! Starting a blog was one of the things from my list of Things To Do-2018. If you are reading this right now then I guess it must have been into your wish list too. Like me, many people are confused about how to start a blog?, which service to us?, should it be self hosted or not? blah blah blah. Well, I have been to that phase too. So, today I’m going to help you out for starting a blog.
Why A Self Hosted Blog?
Many of you must have been thinking that why I have to host it? Can’t I use one of the services available already like google’s Blogspot, wordpress.com, Medium, etc. Well, Of course you can use it but I do not recommend it.
When you use a blog service, you don’t have control of certain things. If the service is stopped for some reason then your blog will be in trouble. You can compare and read more about Free Blog vs Self Hosted Blog here. Here, we are going to host it by ourselves.
What is WordPress?
WordPress is an online, open source, easiest and most powerful blogging and website content management system (CMS) in existence today. We will use wordpress.org which is free blogging platform that can be used on self-hosted basis. There are several CMS services available like Blogger, Medium, Wix, Tumblr, Joomla, etc. But among these all, wordpress is the most popular.
You can read about differences between wordpress.com and wordpress.org here.
So, let’s start creating your self hosted wordpress blog. These are the steps that needs to be followed.
Steps
- Register a domain name.
- Register to a hosting service.
- Install & Configure WordPress.
- Writing your first post.
1. Register A Domain Name
First of all, you’ll need a domain name to get started with your own self hosted blog. You can get domain any domain name like .com, .org, .net, etc. Getting these domains will cost you a little. There are many free domains are available as well like .tk, .cf, .ml, etc. If you want to start your blog free of cost then you can register one of the free domains. If you have already got your domain then you can skip to the next step.
To get free domains, there are lots of services available that you can google. Here I am going to use freenom.com. Go to freenom.com and register yourself. After that, go to services > Register a new domain.

Enter your desired domain name (without extension) and see if it is available. You can choose any from the list that is free. Rest is going to cost you some bucks. Select your domain name and click on checkout option.
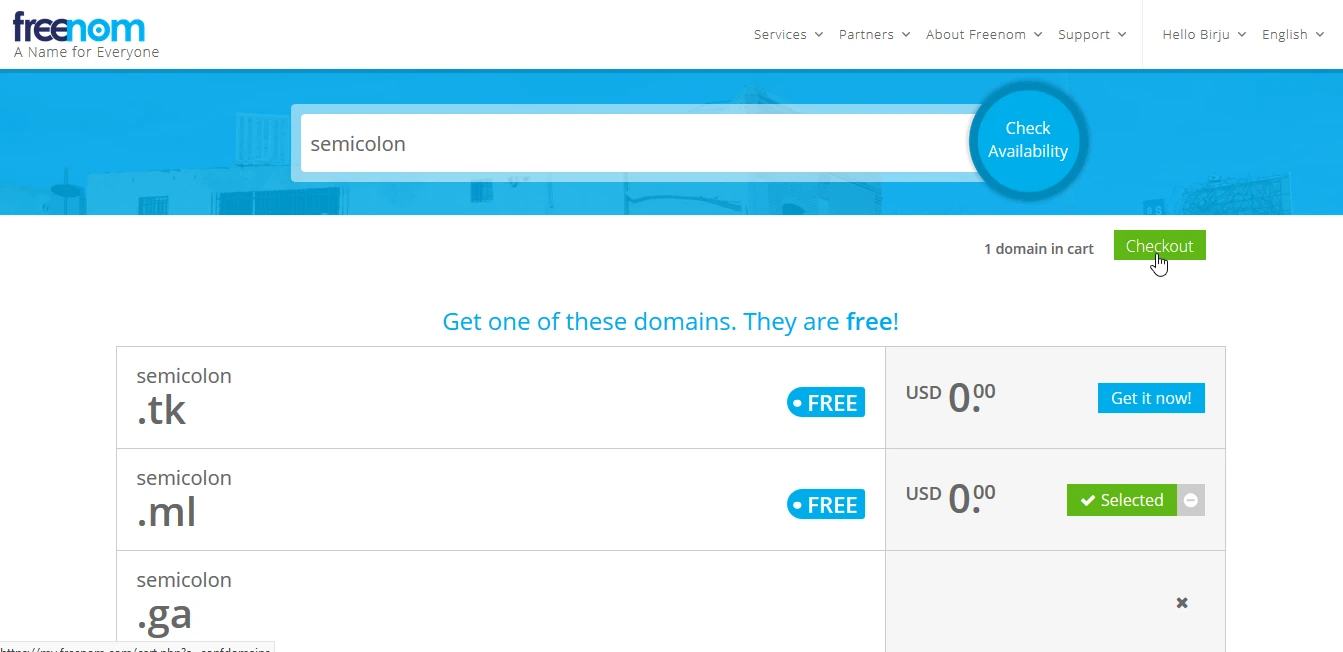
Select the period for which you want the domain name. If you’re not sure about it then select 12 months which is the highest time allowed as cost free. Click on continue after that.
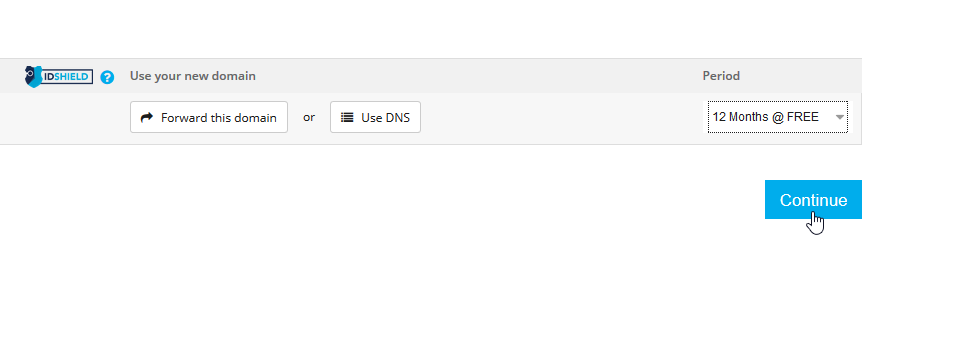
Now, checkout form will open. Fill up the details required and click on complete order to checkout.
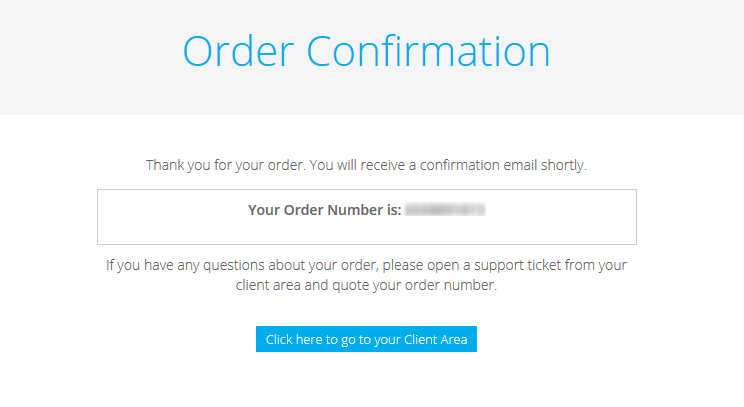
If you see following order confirmation screen that It’s Great! You have registered your domain successfully.
2. Register To A Hosting Service
There are a large number of hosting services available. The one we want should support WordPress and should be free initially. infinityfree.net is such a service we can host on here. So, go to infinityfree.net website and register your self.
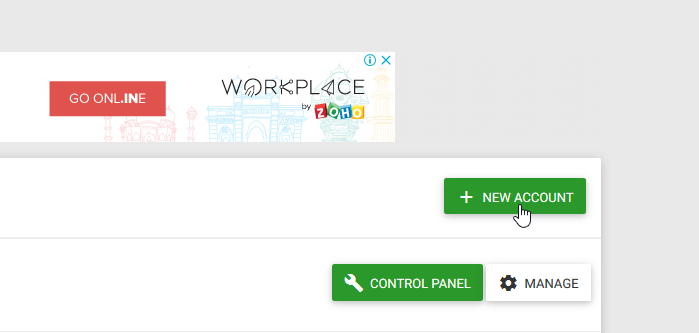
After registering successfully, go to client area and click on New Account button.
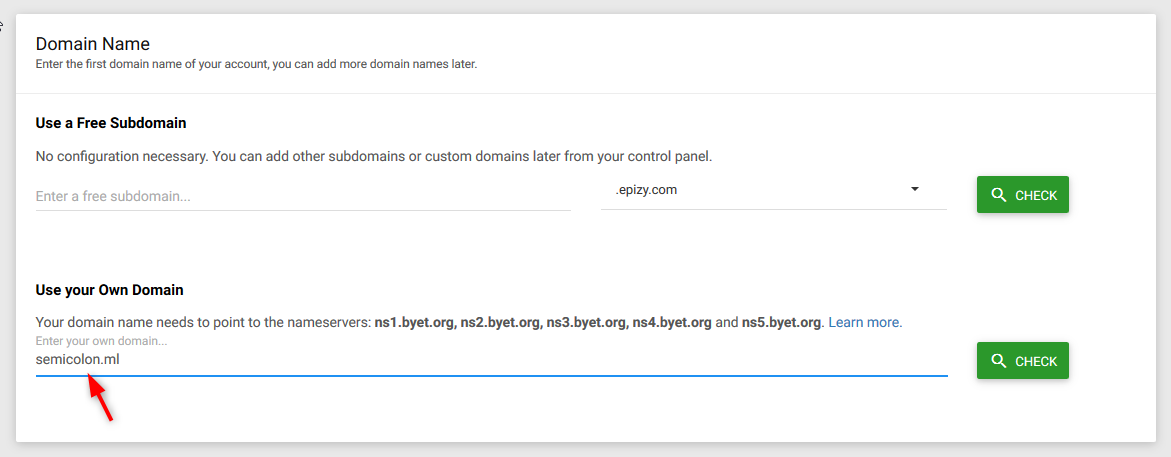
Enter your domain name in Use your Own Domain section.Don’t click the check button yet. we have some configurations to do.
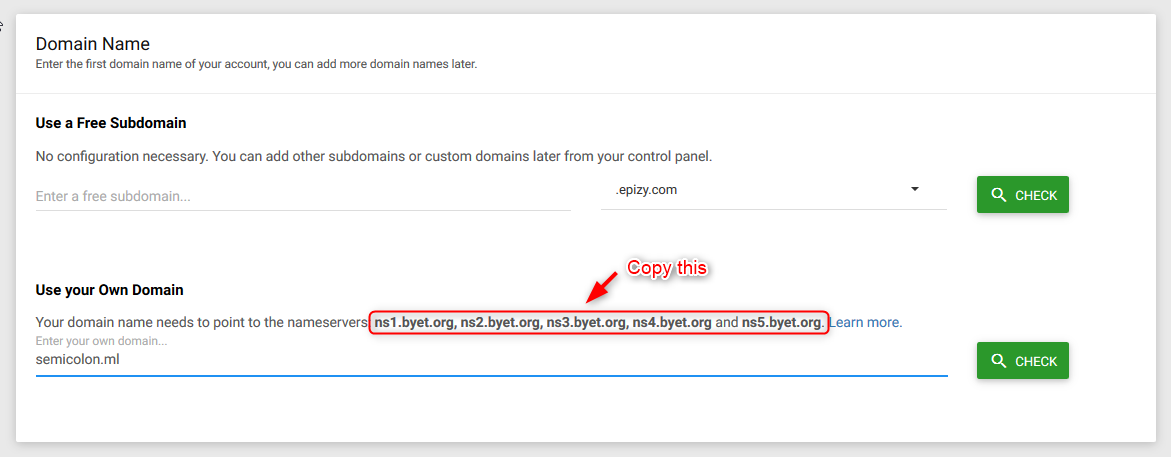
Now, you need to link our domain with this hosting account. To do that you need to set Namespace servers of this hosting service to our domain service. To do that, copy nameservers provided as shown below.
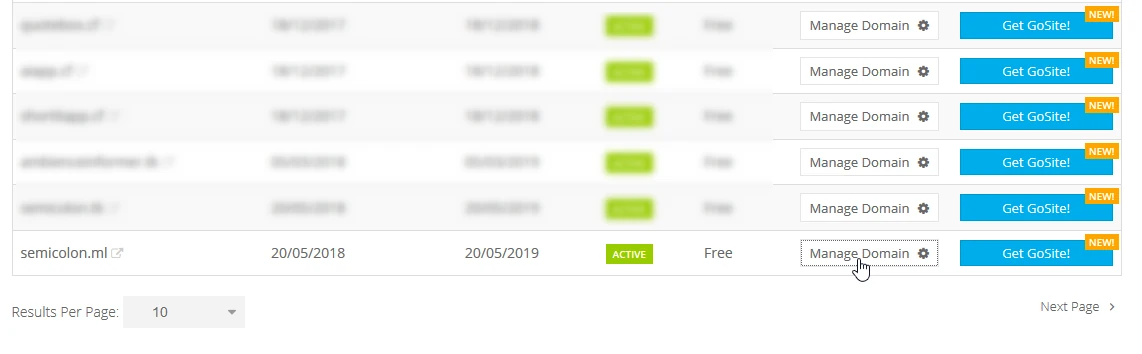
Now, go to domain service freenom.com and navigate to services > My domains. Click on Manage Domain button in the right side of the domain you have registered.
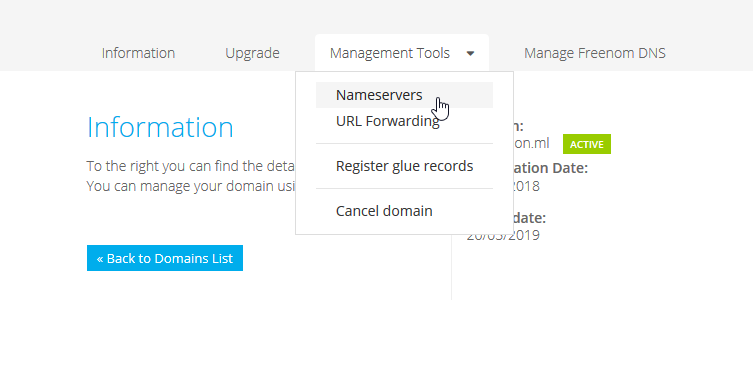
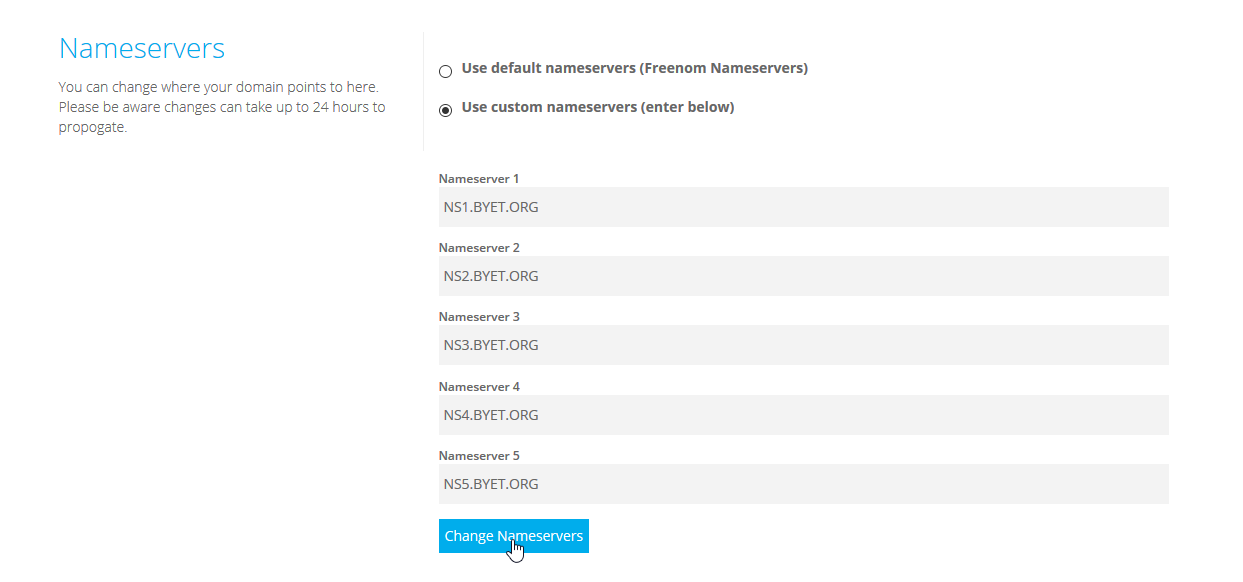
Now, go to Management Tools > Nameservers.
Select Use custom Nameservers option and paste nameservers that you have copied earlier as shown below. then click on Change Nameservers. It will take some time to apply changes.
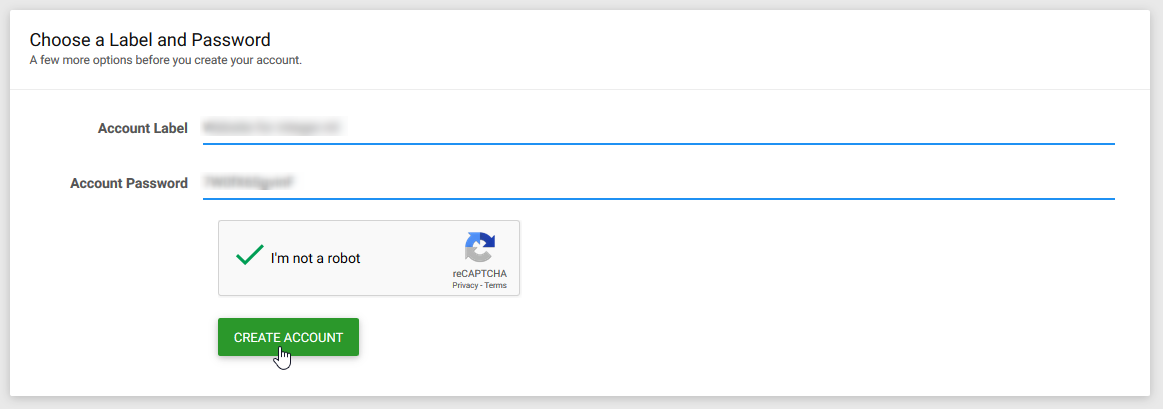
Now you can click that Check button on hosting service. 😛 If everything goes well then you will see following screen. 🙂 Enter label for your blog and password. Then, click on create account button.
Now your domain is linked to your hosting service. 🙂
3. Install WordPress
Now, All you need to do is to install WordPress on the server on which the blog is hosted. Click on open control panel to go to control panel for your hosted site.

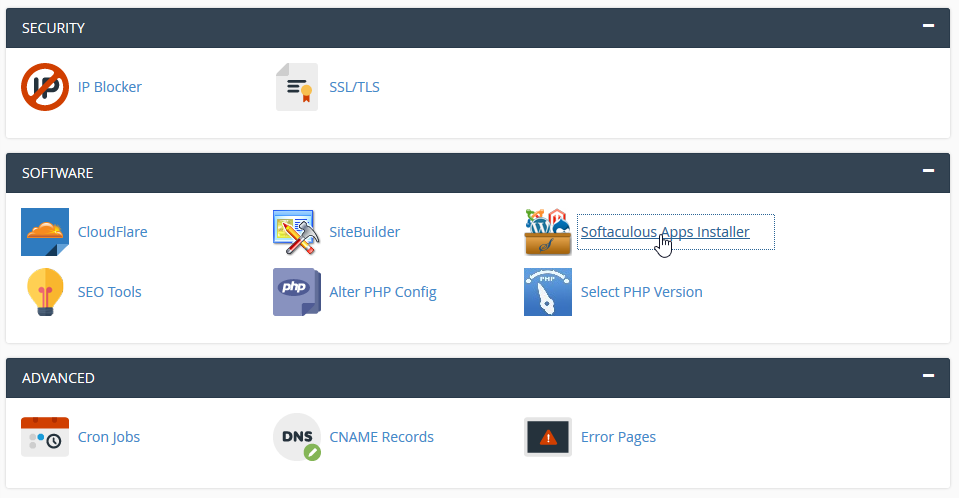
It will open the control panel. Scroll down to Software Section and click on Softaculous App Installer. It’s an App installer tool to install WordPress like tools.
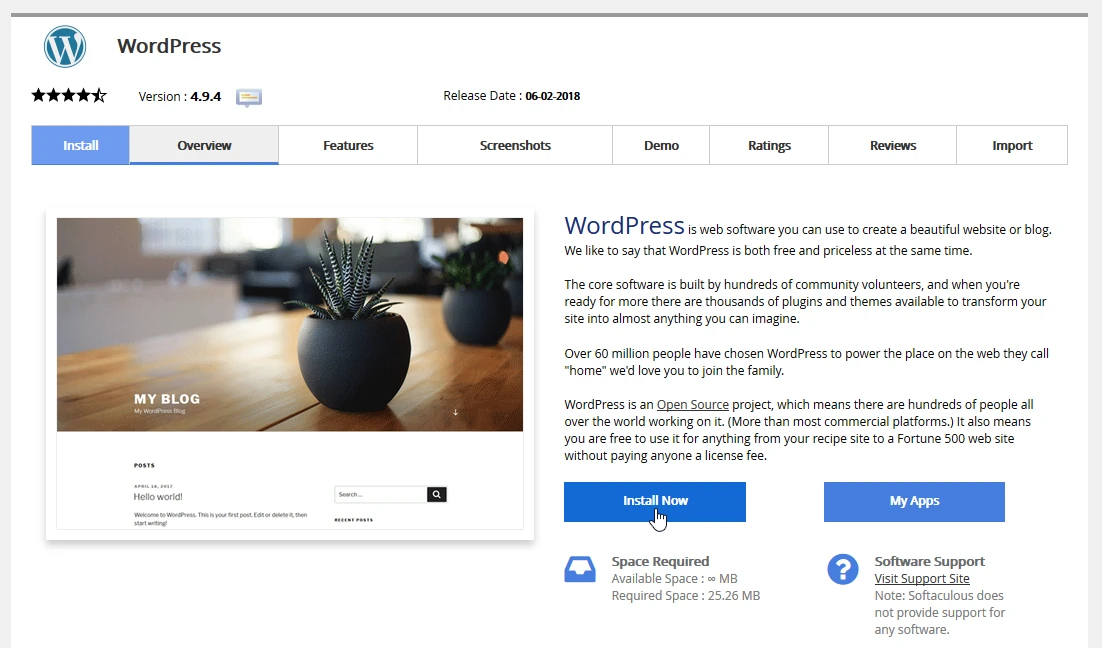
It will open Softaculous tools panel. Now click on WordPress in the Top Scripts section. Now click on Install Now button to begin the installation of WordPress.
Now, It will open a form for WordPress setup. Fill up the form and these are some import things to be careful with.
Setting Root Directory for WordPress
The In Directory field is important. It defines where the WordPress will be installed. By default, it is installed in wp directory but in our case, our whole blog will be running on WordPress only so we will install WordPress in the root directory of our site. To do that leave that field empty(remove wp). So that it will install WordPress in the root directory.

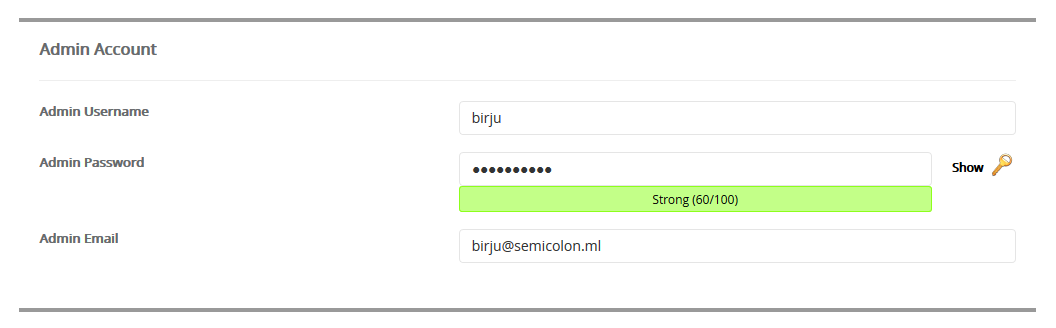
Setting Admin Credentials
It is very important to choose proper username and a strong password as it protects the WordPress control panel from which you can access your blog’s tools like themes, posts, plugins, settings, media, etc. So choose them carefully.
Don’t change anything in Advanced Options if you are not sure what it does. At last, select a proper theme for the given options. If you don’t like any then don’t worry. You can change it later. Click on install button once you are done with all the details.
It will take a few minutes to install the WordPress. If everything goes well then you will see following screen.
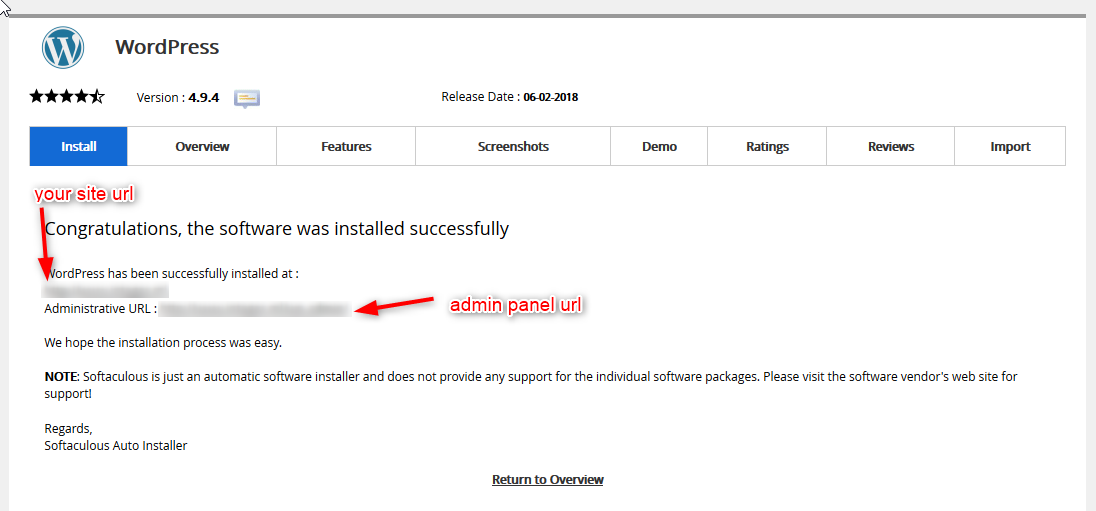
It contains the URL of your blog and admin panel URL from where you can access WordPress admin panel to access your blog tools.
You have successfully installed WordPress. You can open your blog’s URL and see the first look of your blog. Now, click on admin panel URL and it will take you to the Dashboard which look like as shown below:
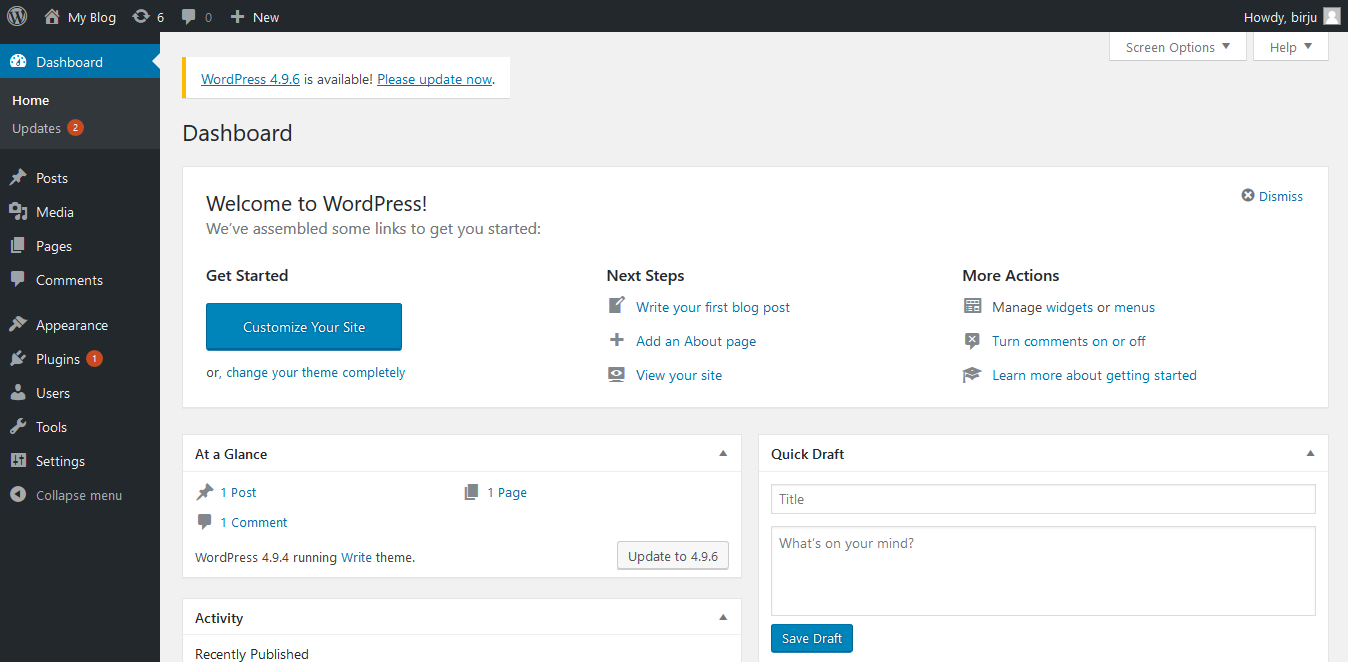
Congratulations! 🙂 Your self hosted WordPress blog is ready.Here, you can add new posts from the posts section, change theme from appearance section and do many more things. There are a large number of plugins available to help you add features and functionalities to your blog. You can install them from the Plugins section.
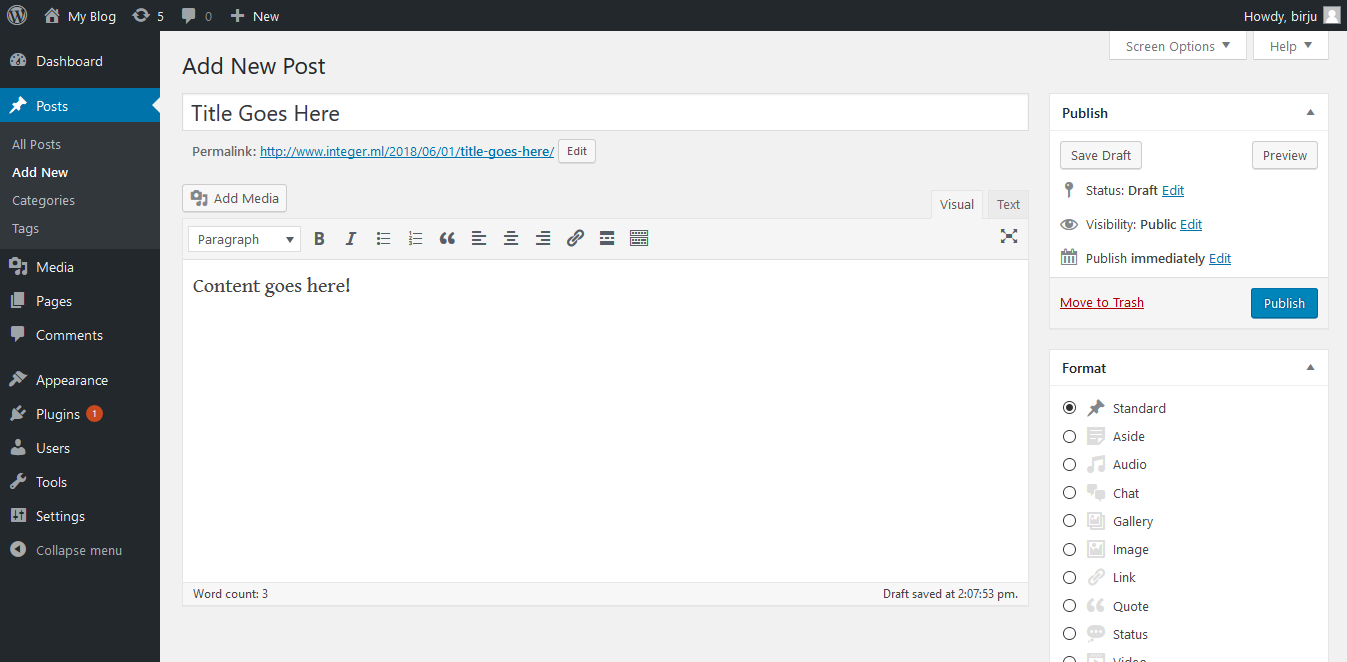
4. Writing Your First Post
Now you are ready with your blog and can start writing posts. Go to Posts > New Post and it will open a visual editor shown below. Write your first post and publish it. 🙂
If you stuck anywhere, feel free to ask.
Happy Blogging! 🙂