April 3, 2019
6 minutes
A Better Way to Manage Gradle Build Script

Gradle scripts has been real mess for me since I started learning Android! Every time I create a new project, I would open another project and copy as much as I can from its Gradle scripts. I would find related code lines that I need and then copy them one by one. such a headache it is! But what if there’s a better way to manage all this? I’m not talking about Gradle extra properties. They are clumsy too. They doesn’t provide navigate to code feature which comes quite handy and it is written in Groovy which I don’t like much!
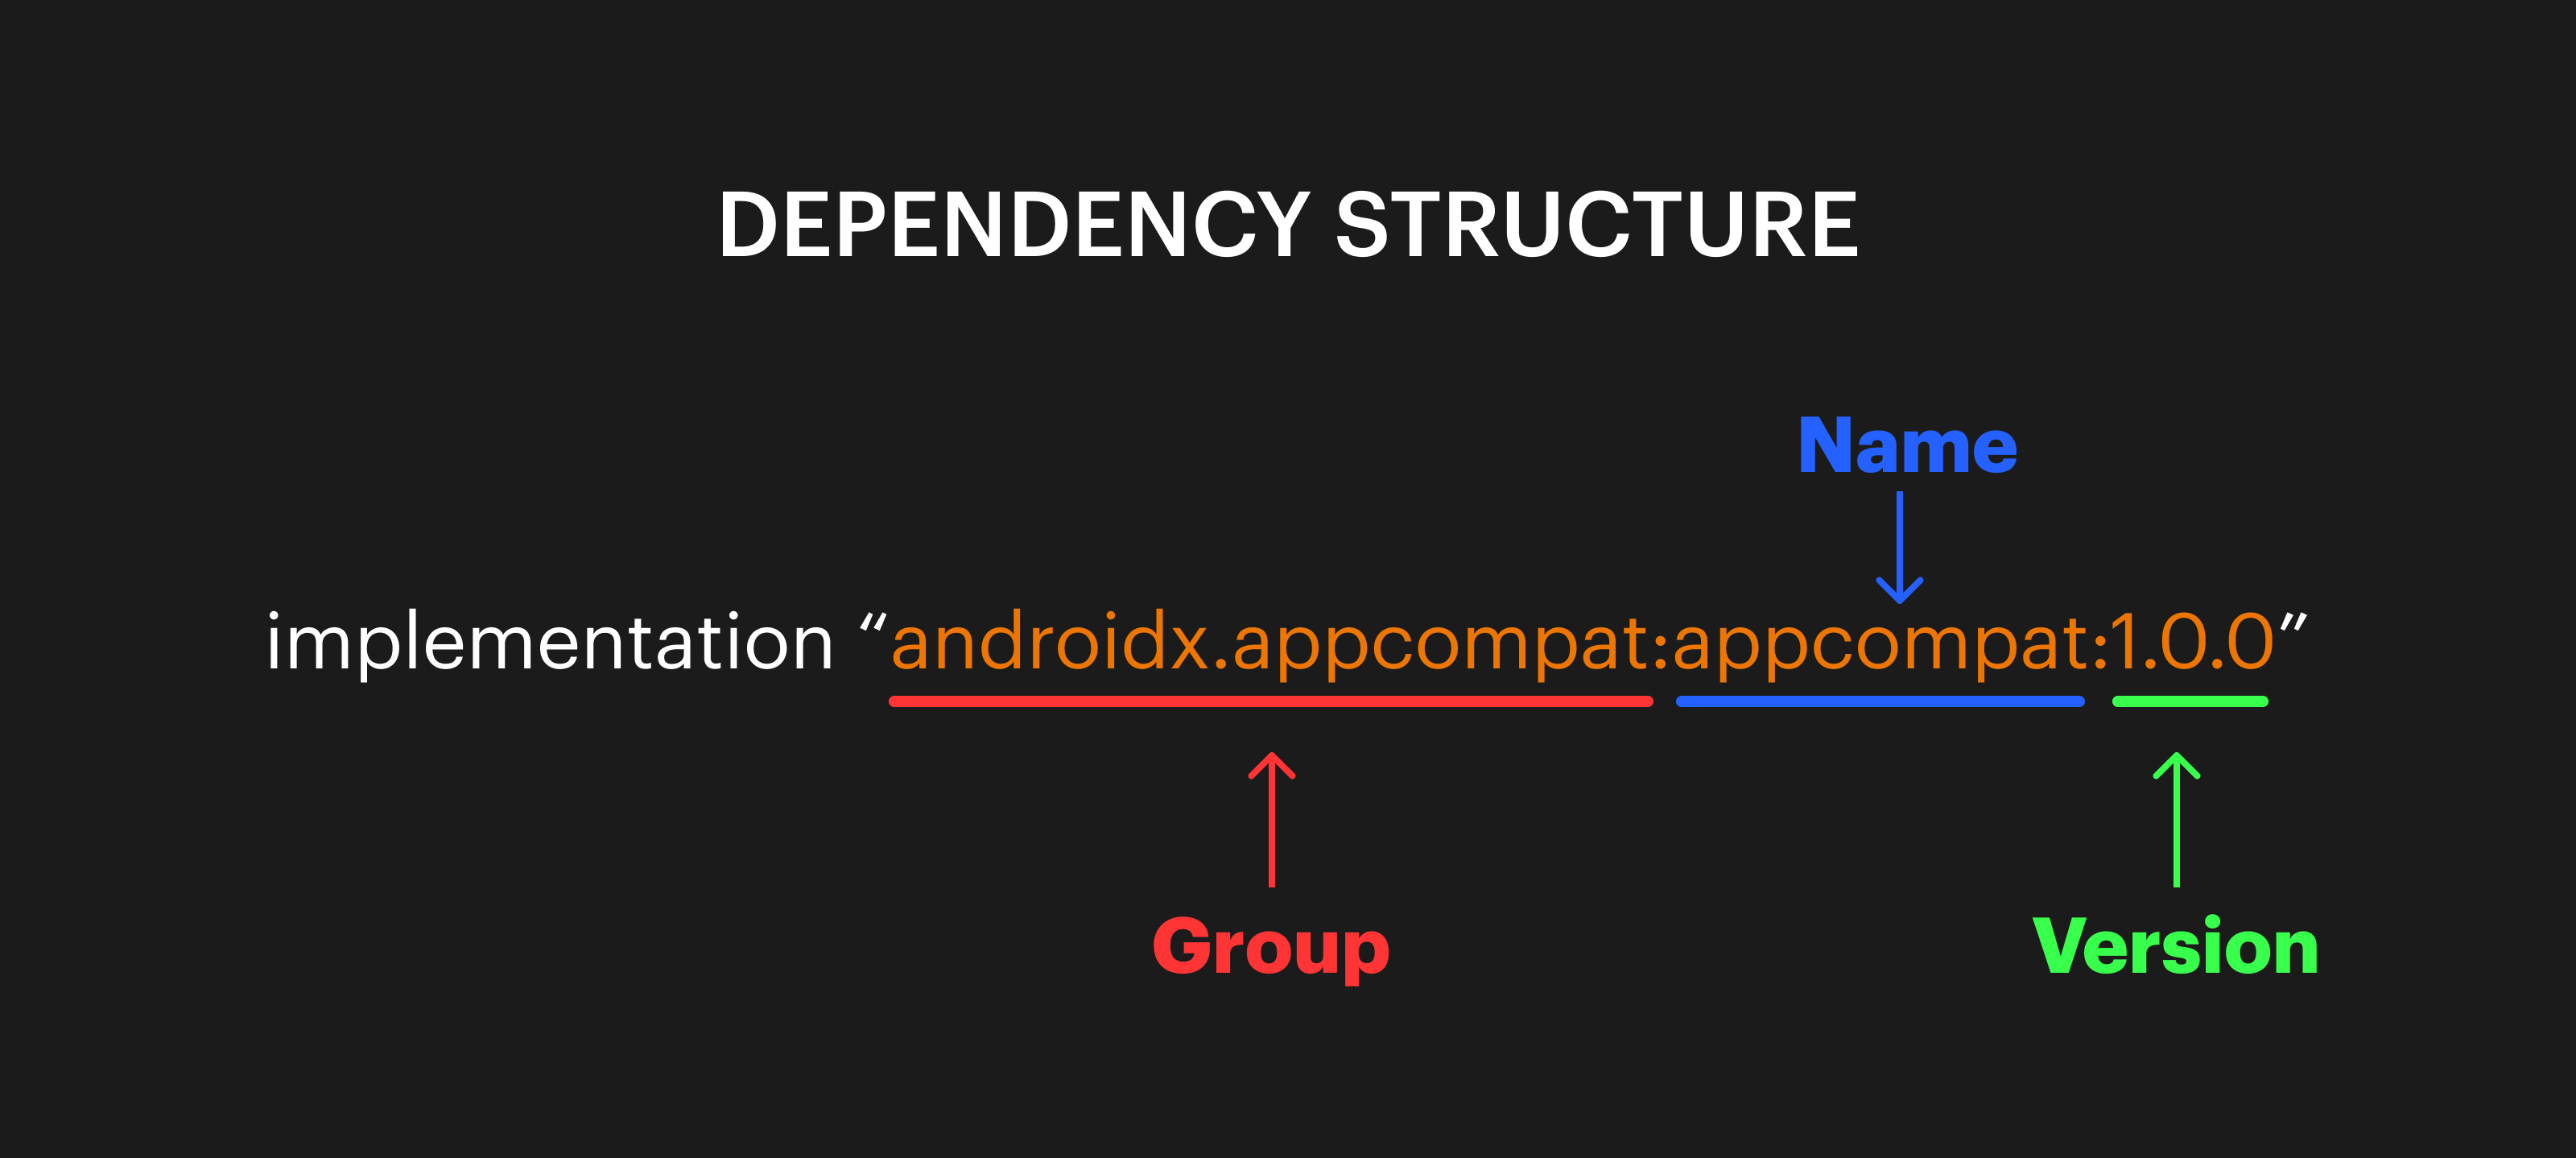
Let’s face this! Dependencies are messy. They have got this confusing and weird names, versions, etc. It’s very hard to figure out very common dependencies like dependencies for google material design, AppCompat, retrofit, etc. Imagine If you want to add a component dependency you must have to search for it on internet or copy it from another project. Android studio provides search mechanism but that doesn’t help that much.

What if you could to find all the required dependencies only one time and create your own format to easily add them into your future projects! That way you don’t have to remember much.
Classpaths have similar structure as dependencies. Dependencies outnumber them but they are also a bit messy.
Proguard Files need to be added for each and every library we use as they all have separate files.(Only if we care about our app enough obviously!)
Let’s find out how we can manage these Gradle scripts in a better way and reuse them in other projects as well. we’ll be using Gradle Kotlin Scripts for this tutorial. If you don’t know how to migrate Gradle scripts to Gradle Kotlin DSL, here is a blog you can refer.
Gradle buildSrc Directory
We’ll make use of buildSrc Directory to satisfy our purpose here. When gradle finds this buildSrc in project’s root, it automatically compiles and tests this code and puts it in the classpath of your build script. It is used to abstract imperative logic.
It is easier to maintain, refactor and test the code. It uses same source code conventions as java project and it also provides direct access to the Gradle API.
A change in buildSrc causes the whole project to become out-of-date.
we will use buildSrc to manage our scripts. Let’s start by configuring buildSrc for our project.
Configuring buildSrc
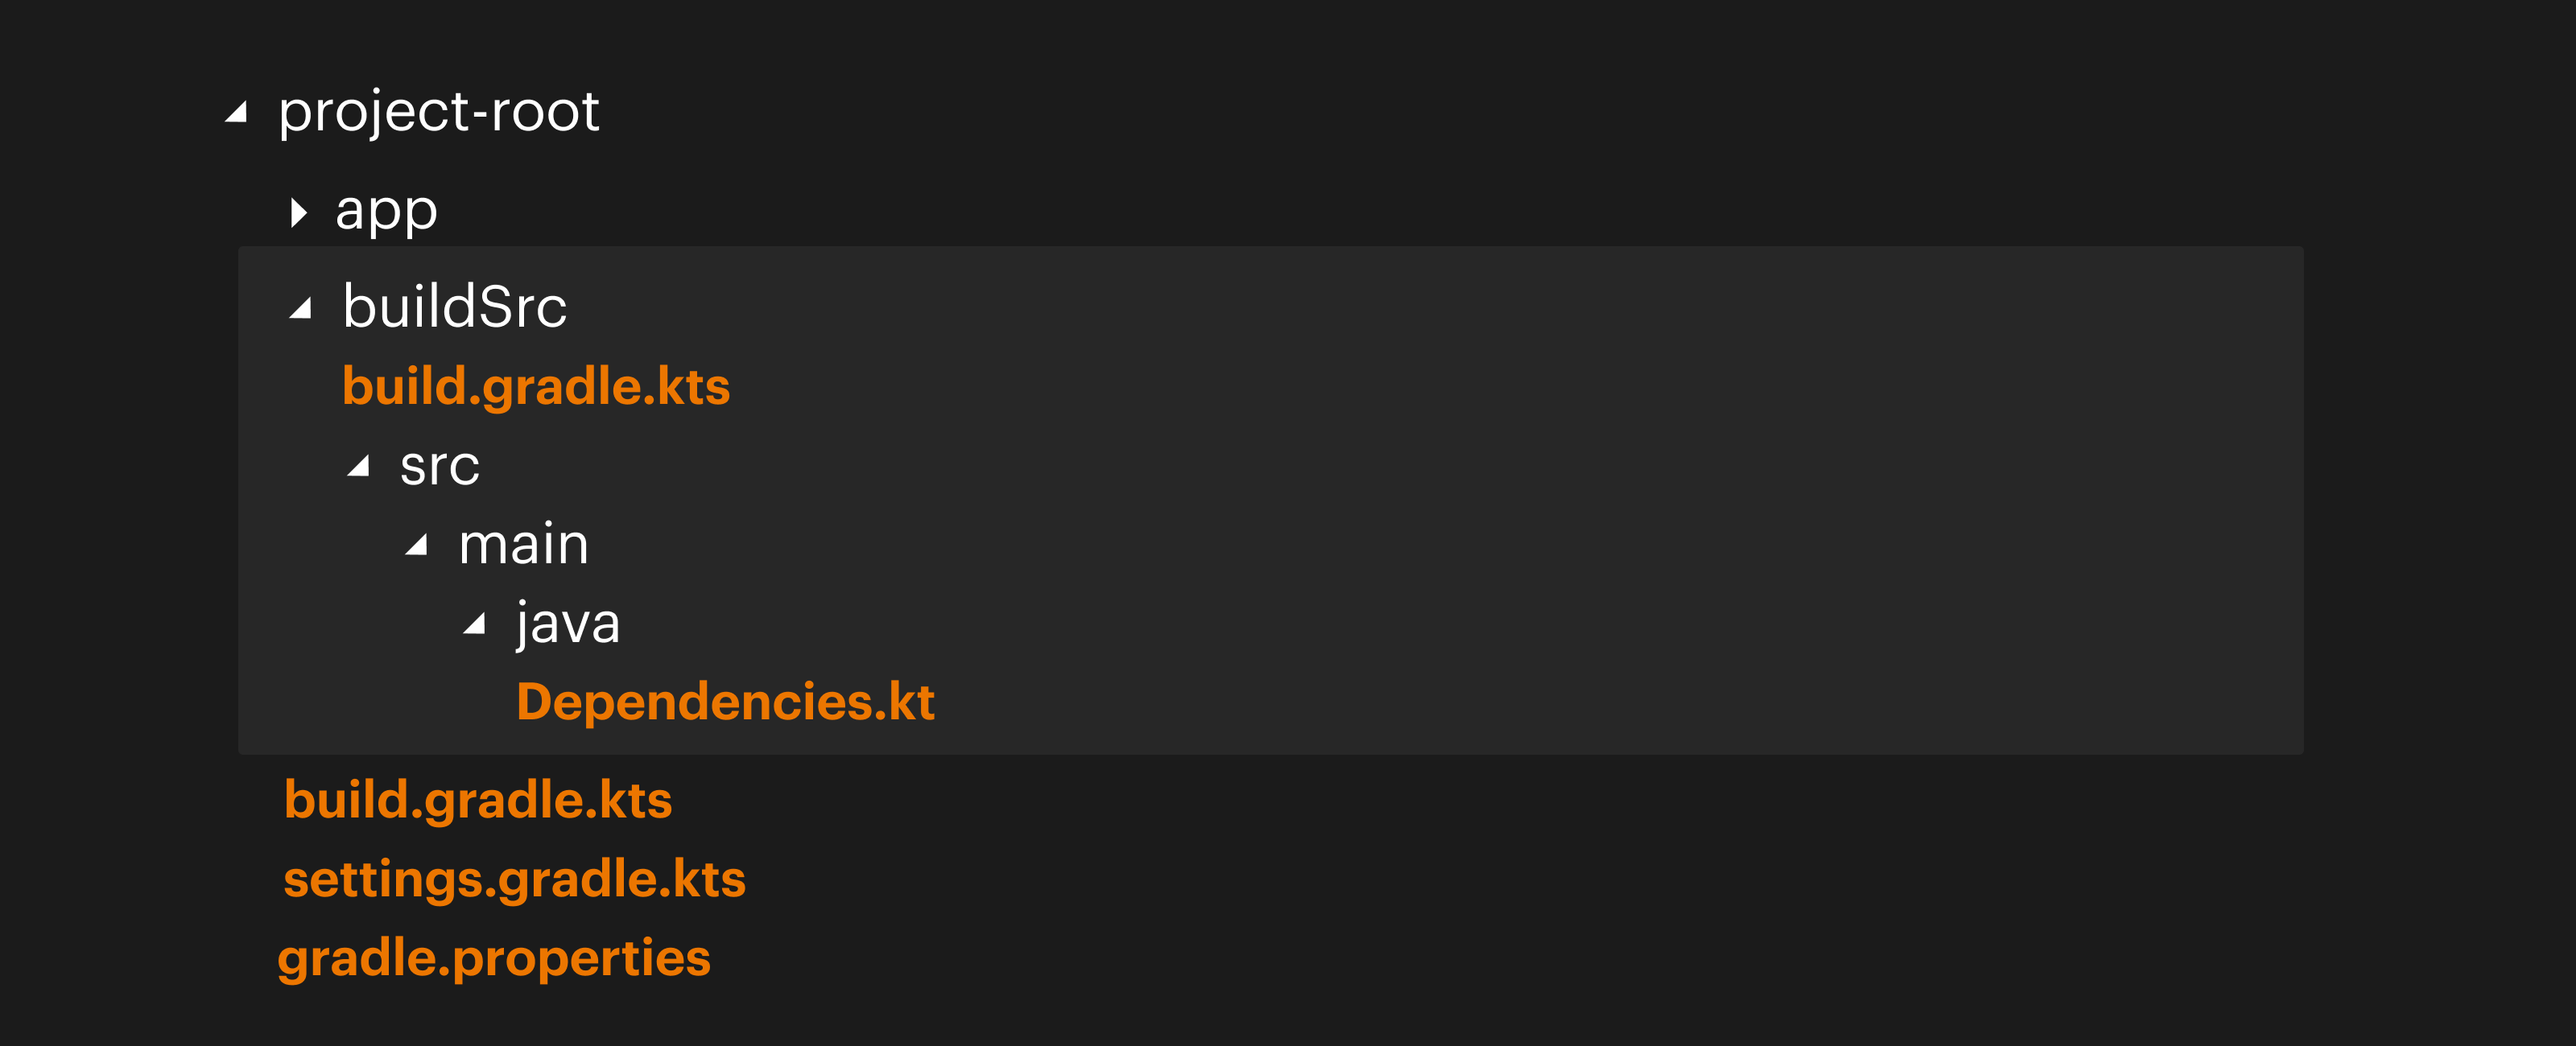
To use buildSrc in our project, create a directory named buildSrc in project’s root directory. Here’s the directory structure for buildSrc. We need to create all the relevant directories and files to setup buildSrc.

So, we need to create src/main/java directories in buildSrc directory. Create a file named build.gradle.kts in buildSrc root.
Add this code into buildSrc/build.gradle.kts file:
plugins {
    `kotlin-dsl`
}
repositories {
    jcenter()
}
It will enable kotlin DSL support for our buildSrc code.
Manage Dependency Versions
Create a file named Dependencies.kt in buildSrc/src/main/java. You can name it any valid file name you want. We will use this file to manage and hold our dependencies. We will create a separate object to manage dependency versions and use them in your Libs object like this:
object Versions {
    // kotlin
    const val kotlin = "1.3.10"
    const val ktx = "1.0.0"
    const val kotlinCoroutines = "1.0.1"
}
Managing Dependencies
Add following code for dependencies into Dependencies.kt file. Here, library versions are being access from the Versions object introduced above.
object Libs {
    object Kotlin {
        const val stdLib = "org.jetbrains.kotlin:kotlin-stdlib-jdk8:${Versions.kotlin}"
        const val coroutines = "org.jetbrains.kotlinx:kotlinx-coroutines-core:${Versions.kotlinCoroutines}"
        const val coroutinesAndroid = "org.jetbrains.kotlinx:kotlinx-coroutines-android:${Versions.kotlinCoroutines}"
        const val ktxCore = "androidx.core:core-ktx:${Versions.ktx}"
    }
}
After syncing project, we can use these dependencies into our build.gradle.kts files.
dependencies {
    implementation(Libs.Kotlin.stdLib)
    implementation(Libs.Kotlin.coroutines)
}
Isn’t it pretty? All you have to do is define all the dependencies you need and then in your gradle files, access them as you would access a Kotlin property. Not just dependencies, we can define anything we want we it will be available for our gradle scripts. The best part is we don’t need to write it in Groovy as we had to for gradle extra properties.
Manage Plugins
object Plugins {
    const val androidApplication = "com.android.application"
    const val kotlinAndroid = "android"
    const val kotlinExtensions = "android.extensions"
    const val kapt = "kapt"
    const val detekt = "io.gitlab.arturbosch.detekt"
    const val crashlytics = "io.fabric"
}
Usage:
plugins {
    id(Plugins.androidApplication)
    id(Plugins.crashlytics)
    kotlin(Plugins.kotlinAndroid)
    kotlin(Plugins.kotlinExtensions)
    kotlin(Plugins.kapt)
}
Managing Pro-guard Files
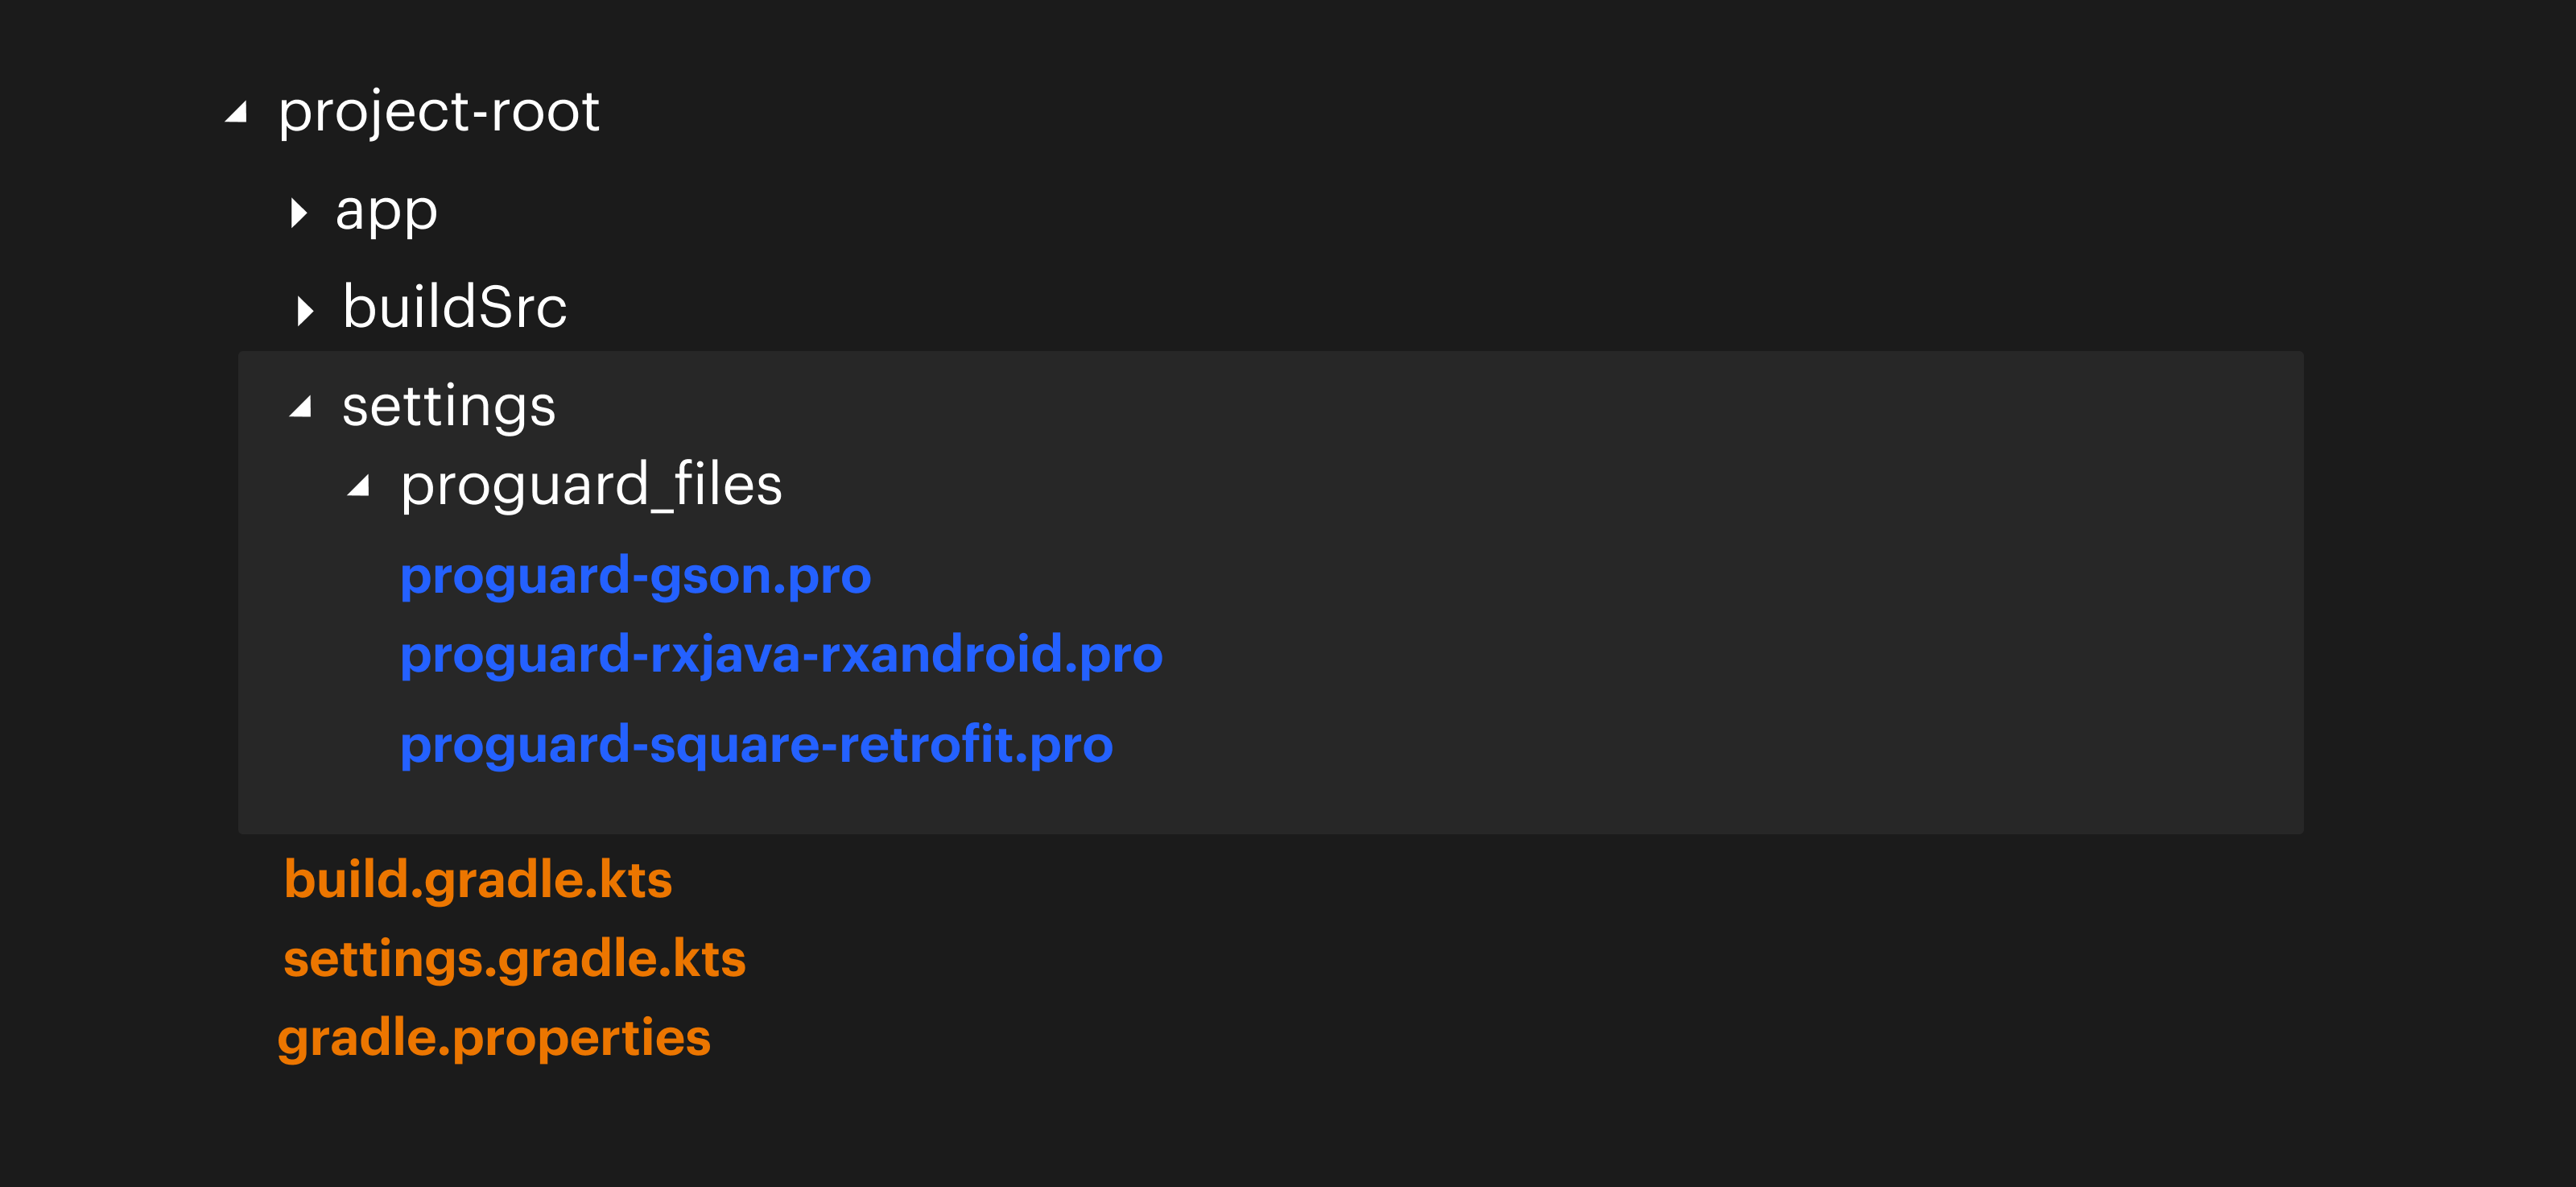
The way I manage it is I create folder named settings in project’s root directory. All the required proguard files will be stored into a directory called proguard_files into settings directory.

Define file paths into Dependencies.kt file.
object ProGuards {
    val retrofit = "/settings/proguard_files/proguard-square-retrofit.pro"
    val gson = "/settings/proguard_files/proguard-gson.pro"
    val rx = "/settings/proguard_files/proguard-rxjava-rxandroid.pro"
    val androidDefault = "proguard-rules.pro"
    val proguardTxt = "proguard-android.txt"
}
Usage:
buildTypes {
    getByName("release") {
        isMinifyEnabled = false
        proguardFiles(ProGuards.retrofit)
        proguardFiles(ProGuards.gson)
        proguardFiles(ProGuards.rx)
        proguardFiles(getDefaultProguardFile(ProGuards.proguardTxt), ProGuards.androidDefault)
    }
}
Managing Classpaths
object ClassPaths {
    const val gradlePlugin = "com.android.tools.build:gradle:${Versions.gradlePlugin}"
    const val kotlinPlugin = "org.jetbrains.kotlin:kotlin-gradle-plugin:${Versions.kotlin}"
    const val crashlyticsPlugin = "io.fabric.tools:gradle:${Versions.crashlyticsPlugin}"
}
Usage:
dependencies {
    classpath(ClassPaths.gradlePlugin)
    classpath(ClassPaths.kotlinPlugin)
    classpath(ClassPaths.crashlyticsPlugin)
}
Manage Android Configuration
object Configs {
    const val applicationId = "com.servicehub.app"
    const val compileSdkVersion = 28
    const val minSdkVersion = 21
    const val targetSdkVersion = 28
    const val versionCode = 1
    const val versionName = "1.0.0"
}
Usage:
android {
    compileSdkVersion(Configs.compileSdkVersion)
    defaultConfig {
        applicationId = Configs.applicationId
        minSdkVersion(Configs.minSdkVersion)
        targetSdkVersion(Configs.targetSdkVersion)
        versionCode = Configs.versionCode
        versionName = Configs.versionName
        dataBinding.isEnabled = true
    }
}
This was just an example on how we can manage our dynamic part of our gradle scripts. This code is reusable too. This Dependencies.kt contains your configuration so copy this buildSrc folder to another project and do a gradle sync! All your dependencies, classpaths, plugins, pro-guards, etc will be available to your next project.
The benefit here is you don’t have to copy different parts from your old project’s gradle scripts and paste them to new one, you just have to copy just one directory. One single copy, JUST ONE SINGLE COPY! Also you don’t have to remember dependencies (which no one does actually) or search them on internet.
Please note that this approach holds information required for Gradle scripts but it is not actually adding anything to your build scripts automatically so only those data will be used which you access from Gradle scripts. other source will not affect your scripts. As your need increases, you can add more and more config to this file and create a master config file of your structure and reuse it for all your future projects like a boss!

This is the way I use them for my project. I am open to more better ways. If you guys know any, do let me know. Other than that, we can use this to create extensions for Gradle build scripts! I will write a blog on it soon. stay tuned!
If you find any mistake or correction, please do let me know so that I can correct them for other readers. Suggestions are always welcomed. Thanks for reading! Happy coding folks!